10 Easy Steps to Create a Shopify Website
Shopify is a powerful e-commerce platform that empowers entrepreneurs to build and manage online stores easily. In today’s digital age, having an online presence is crucial for businesses looking to reach a broader audience and increase sales. In this blog post, we will provide a step-by-step guide to creating your Shopify website, from account setup to launching your store.
Step 1: Creating Your Shopify Account

So, what is Shopify? It is an all-in-one e-commerce solution that allows you to create a customizable online store without needing technical skills. To get started, visit the Shopify website and click on “Start free trial.”
During the signup process, you’ll need to provide your email address, a password, and your store name. This is where you’ll also indicate whether you’re already selling or just starting. Don’t forget, Shopify offers a 14-day free trial, allowing you to explore its features and functionalities without any financial commitment.
Step 2: Setting Up Your Store

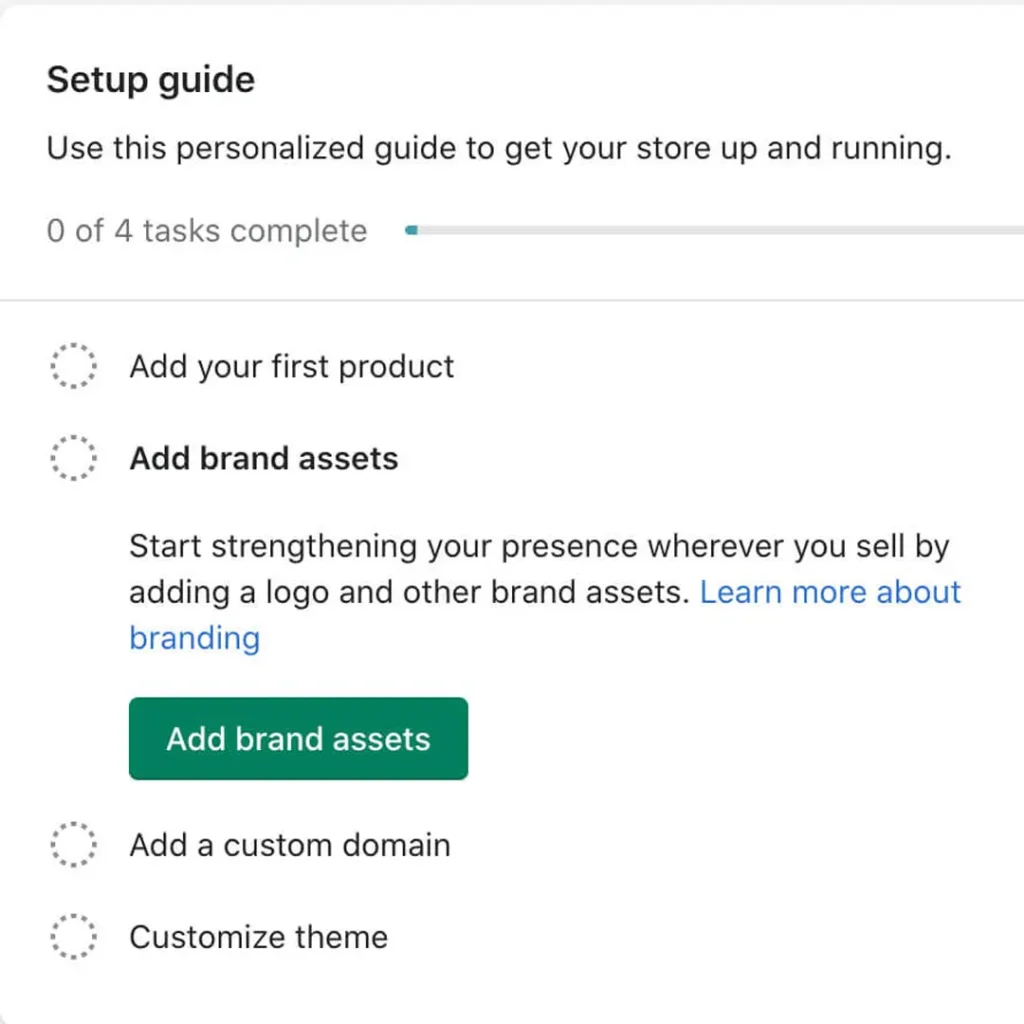
After creating your account, you’ll be directed to the Shopify admin dashboard. This is your control center for managing your online store. The first step is to configure your initial store settings, which include your store name, contact information, and address. These details are essential for customer communication and shipping purposes.
Next, you’ll want to set your currency. This ensures that your customers see prices in their preferred currency, enhancing their shopping experience.
Choosing a memorable domain name is crucial for your brand’s identity. A good domain should be easy to spell, relevant to your business, and ideally short. You can purchase a domain through Shopify directly during the setup process or connect an existing domain if you have one.
Tips for Selecting a Memorable Domain:
- Keep it simple: Aim for brevity and clarity.
- Use keywords: Incorporate relevant keywords that reflect your business.
- Avoid numbers and hyphens: These can confuse potential customers when typing your URL.
By following these initial steps, you’ll lay a solid foundation for your Shopify website. In the next sections, we will delve deeper into customizing your store, adding products, and launching your online business effectively.
With Shopify’s user-friendly interface and extensive support resources, you’ll find building your online store a rewarding experience. Let’s get started on your journey to e-commerce success!
Step 3: Choosing and Customizing a Theme

Selecting the right theme for your Shopify store is crucial as it reflects your brand’s aesthetic and functionality. To choose a theme, browse the Shopify Theme Store, where you can find both free and paid options. Look for a theme that suits your business type and enhances user experience.
When customizing your theme, use the built-in theme editor. Key elements to consider include fonts, colors, and layout. Ensure your colors align with your brand identity and that fonts are legible. Popular themes like “Debut,” “Brooklyn,” and “Minimal” are great starting points, offering versatility and modern design.
Step 4: Adding and Organizing Products

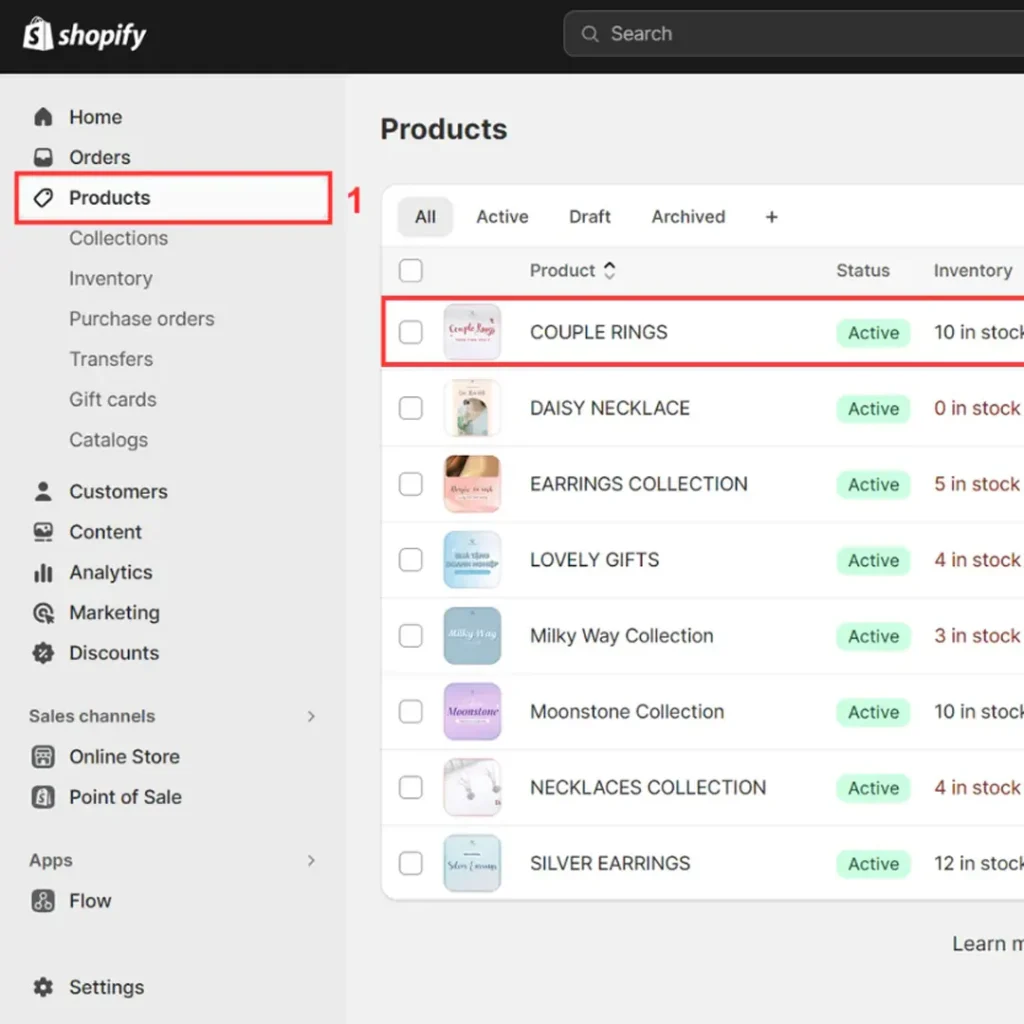
Adding products to your Shopify store is straightforward. Navigate to the “Products” section in your admin dashboard, and click “Add product.” You’ll need to fill out details such as product title, description, pricing, and images. High-quality images and detailed descriptions are essential, as they significantly impact purchasing decisions.
To enhance organization, create collections for your products. Collections can be based on categories, seasonal promotions, or featured items. This not only improves navigation for your customers but also boosts your store’s SEO. For example, a clothing store might have collections for “Men’s Wear,” “Women’s Wear,” and “Accessories.”
Step 5: Setting Up Payment Options

Shopify provides various payment options to accommodate your customers. Shopify Payments is a built-in solution that allows you to accept credit cards directly. Additionally, you can integrate third-party gateways like PayPal, Stripe, or Authorize.Net.
To set up Shopify Payments, go to the “Settings” section, then “Payments.” Follow the step-by-step guide to enter your business information and bank details. Keep in mind the processing fees associated with each payment method, as these can affect your overall revenue.
- Check out best WordPress development services in Jharkhand.
- Top 20 CMS Platforms Dominating the Internet in 2024
- Is WordPress free to use?
Step 6: Configuring Additional Settings
Setting up shipping options is crucial for your store’s success. Shopify offers several shipping methods, including flat rate, calculated rates based on customer location, and free shipping options. Choose the methods that best suit your business model and customer needs.
Next, configure tax rates according to your location and business requirements. Shopify can automatically calculate taxes based on your settings.
Lastly, ensure you set up email notifications for customers. Effective email communication keeps your customers informed about their orders. To configure automated notifications, navigate to “Settings,” then “Notifications.” Here, you can customize messages for order confirmations, shipping updates, and more.
By following these steps, you’ll have a well-structured Shopify store ready for business. In the next sections, we’ll discuss launching your store and promoting it effectively. Get ready to make your mark in the e-commerce world!
Step 7: Launching Your Store
Preparing for the launch of your Shopify store is an exciting yet crucial phase. Start by conducting final checks to ensure everything is in order. Verify that all product listings are complete with high-quality images and accurate descriptions. Confirm that your payment and shipping settings are properly configured, and test the checkout process to identify any potential issues.
Once you’re confident that your store is ready, focus on creating a marketing campaign to generate buzz post-launch. An effective marketing strategy can significantly impact your store’s visibility and sales. Consider initial marketing strategies such as:
- Social Media Marketing: Leverage platforms like Instagram, Facebook, and Pinterest to showcase your products. Create engaging posts and stories that highlight special features or promotions.
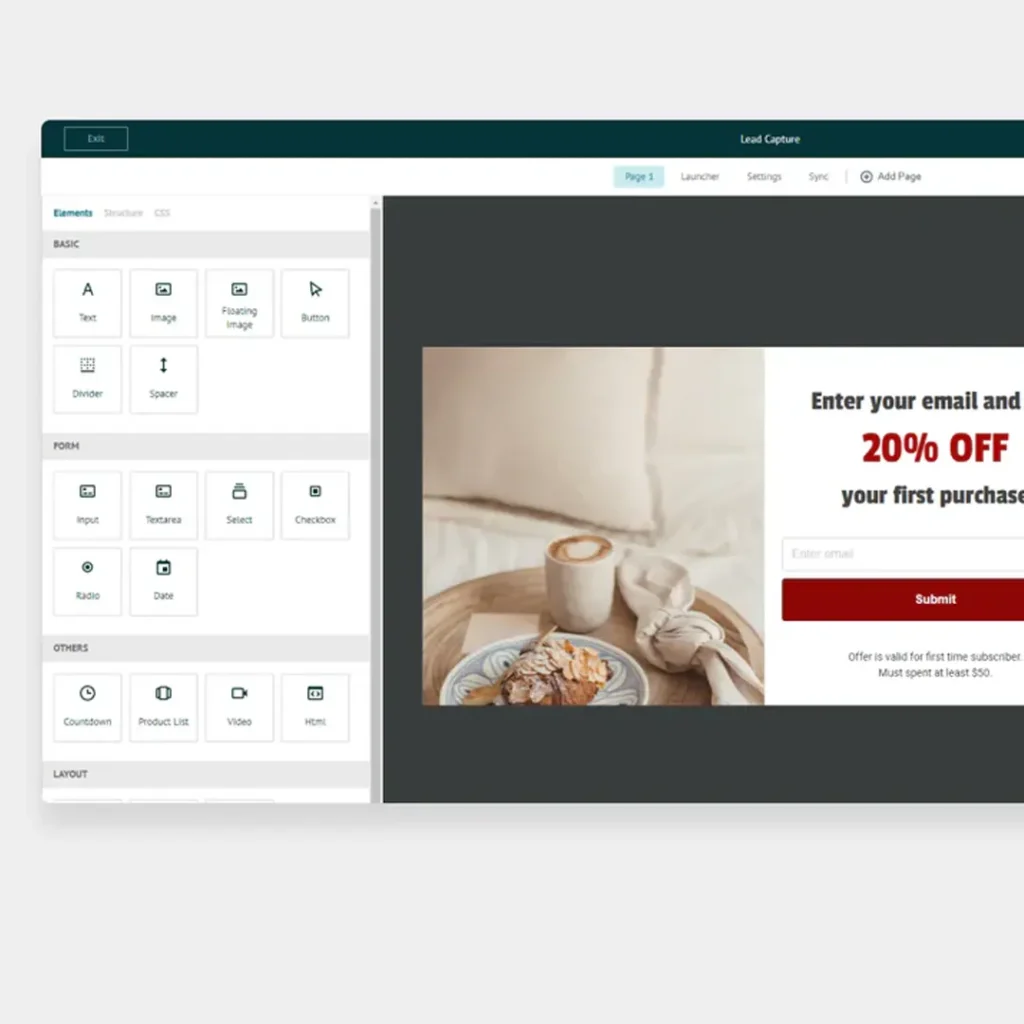
- Email Marketing: Build an email list before your launch and send out newsletters announcing your store’s opening. Offer exclusive discounts or early access to products to encourage sign-ups.
- SEO: Optimize your website for search engines by using relevant keywords in your product descriptions and blog content. A well-optimized site will drive organic traffic over time.
Step 8: Promoting Your Shopify Store

Creating a marketing campaign for your new store involves multiple strategies tailored to your target audience. Start by defining your audience and setting clear goals for your campaign. Digital marketing strategies may include:
- Social Media Advertising: Invest in targeted ads on platforms like Facebook and Instagram to reach specific demographics. This can quickly increase your store’s visibility.
- Influencer Collaborations: Partner with influencers in your niche to promote your products. Their endorsement can lend credibility and attract followers to your store.
- Content Marketing: Create valuable content related to your products. This could be blog posts, videos, or infographics that provide useful information and position your brand as an authority in your field.
- Email Campaigns: Regularly send out promotional emails, product updates, and personalized offers to keep your audience engaged.
Utilizing these strategies can help drive traffic to your store and increase sales. Remember, the importance of content marketing and SEO cannot be overstated; they are vital for long-term success and can help you establish a loyal customer base.
Step 9: Managing Your Store

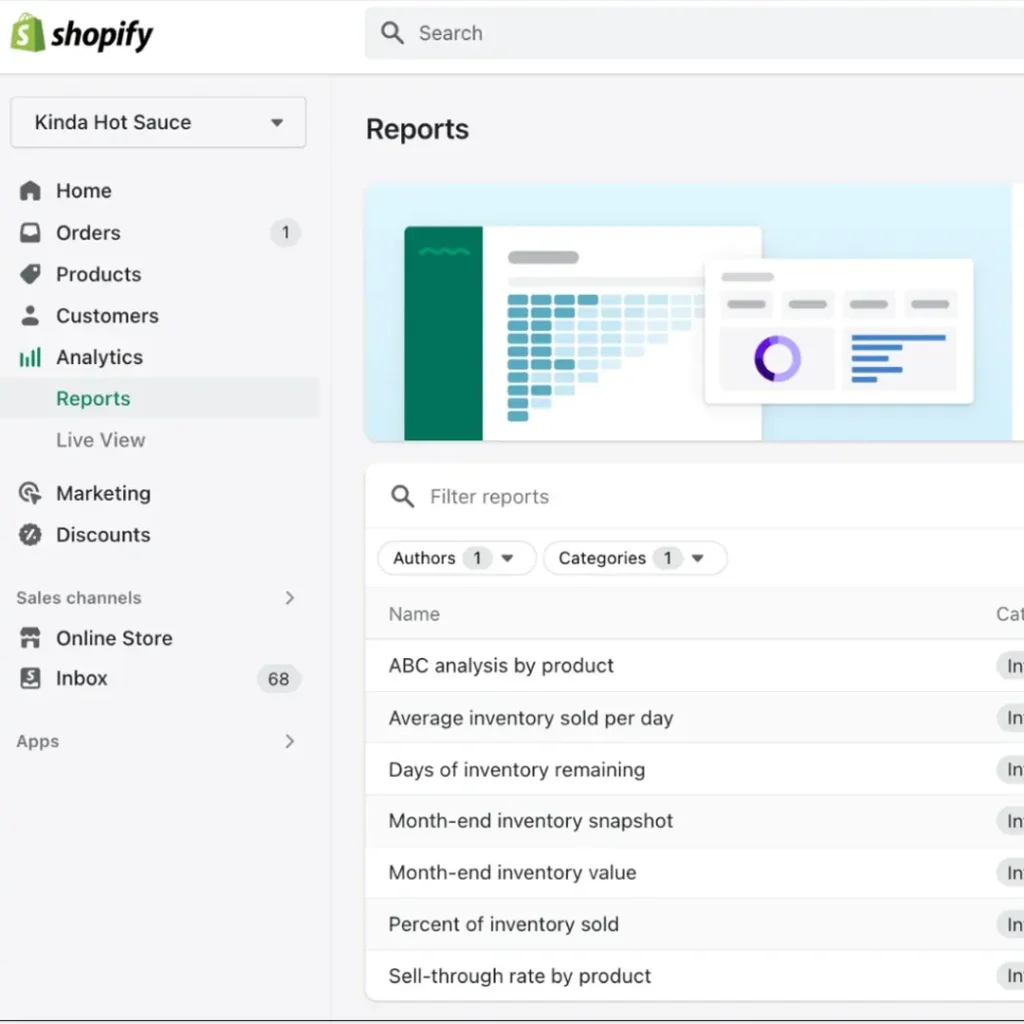
Managing your Shopify store effectively is essential for growth and customer satisfaction. The Shopify admin dashboard is your main tool for tracking and managing various aspects of your store, from orders to inventory.
- Sales Tracking: Use the dashboard to monitor sales performance, identify trends, and adjust your marketing strategies accordingly. Regularly reviewing analytics can help you understand which products perform well and which do not.
- Customer Engagement: Prioritize customer service and engagement. Respond promptly to customer inquiries, handle complaints professionally, and encourage feedback. Engaged customers are more likely to return and recommend your store to others.
- Inventory Management: Keep an eye on your inventory levels to avoid stockouts or overstocking. Shopify provides tools to track inventory and set alerts for low stock levels.
Step 10: Exploring Further Customizations
To enhance your Shopify store, consider integrating apps that offer added functionality. The Shopify App Store is home to thousands of apps catering to various needs.
- Recommended Apps: For inventory management, consider apps like Stocky or TradeGecko. For marketing, tools like Klaviyo for email campaigns or Hootsuite for social media scheduling can be invaluable.
- Additional Features: Explore features like abandoned cart recovery, which sends automated emails to customers who leave items in their cart. Loyalty programs can also encourage repeat purchases by rewarding loyal customers.
By continuously optimizing and customizing your Shopify store, you can improve user experience and drive sales. With the right strategies in place, your online business will thrive, positioning you for long-term success in the e-commerce landscape.
Now that you’ve set up your store, launched it, and implemented effective marketing strategies, you’re well on your way to building a successful online business!
Let’s Go
Setting up a Shopify store is a vital step for anyone looking to enter the e-commerce market. With its user-friendly interface and numerous features, Shopify simplifies the online selling process. Remember to take advantage of the 14-day free trial to explore all the platform has to offer.
For ongoing success, focus on effective marketing strategies, maintain excellent customer service, and continuously optimize your store. Consider leveraging professional Shopify developers for advanced customizations to enhance functionality and user experience.

